


The three boats that have this fender are very pleased. I haven't had to use it yet. Expecting the best.
perfect for the job. Lost a star because a bit short on the cup washers
had thought the holder was solid ss rod and not tube. As it turns out the unit is excellent
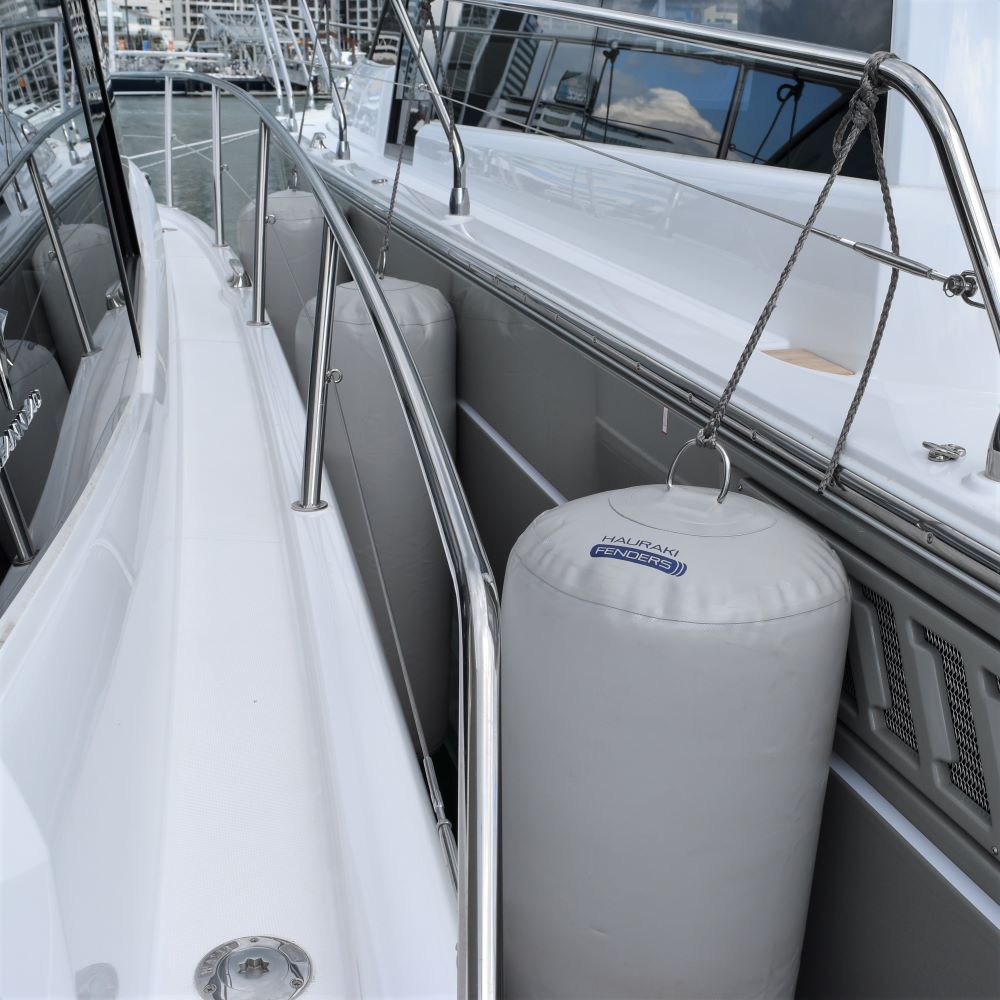
Fabulous product for keeping boat next to a jetty or rafting. So easy to inflate or deflate. Deflated saves so much space on board where space is at a premium. Product appears well made and durable time will tell. Reasonably priced. More colors please.